Settings for Advanced Users
Incoming Server: mail.domainit.com
Outgoing Server: smtp.yourisp.com (contact your ISP to obtain)
Settings for Beginners

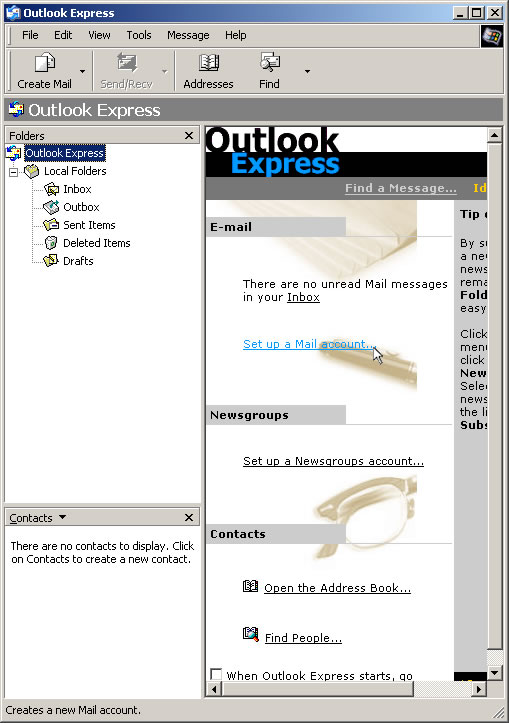
Launch Outlook Express. You should see a link, displayed below, titled "Set up a Mail account." Click this link to open the Internet Connection Wizard. If you do not see the link, you can access the Internet Connection Wizard by going up to the "Tools" menu and selecting "Accounts...." Next click on the "Add" button and select "mail."


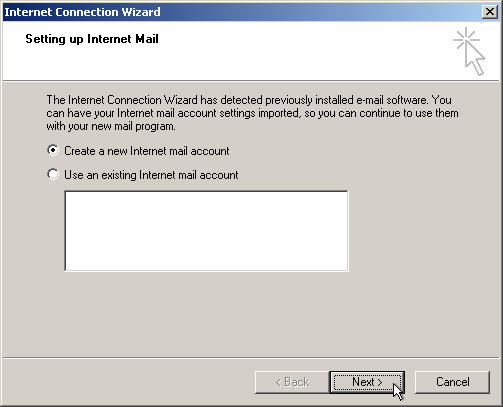
Select "Create a new Internet mail account." Click "Next >."

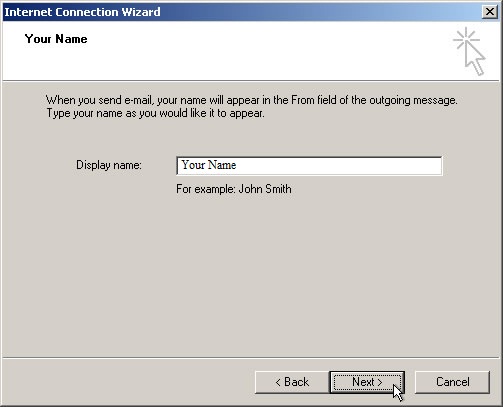
Enter your name. This will appear in the From field in any outgoing message that you send. Click "Next >."

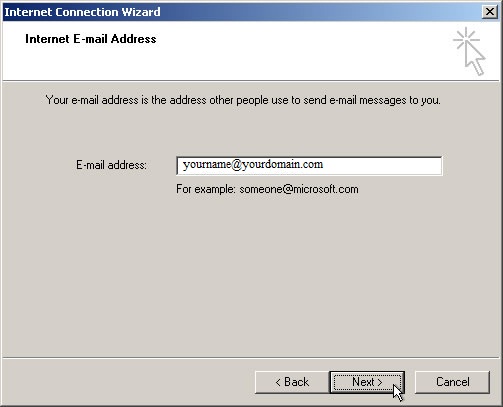
Enter you email address. Click "Next >."

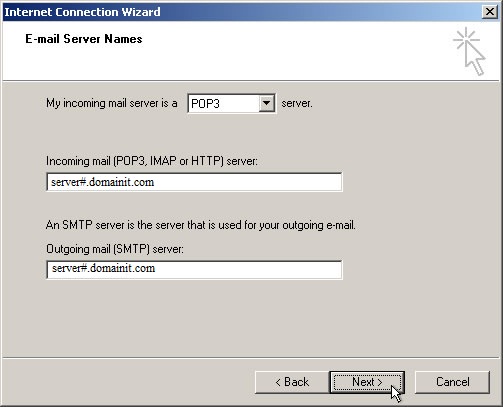
Next, you will need to enter your E-mail Server Names. First select "POP3" from the drop-down menu. (This should be selected by default.) Next enter the server name,
"mail.domainit.com" for the incoming mail server. The outgoing mail server should be provided to you by your Internet Service Provider. Click "Next >."

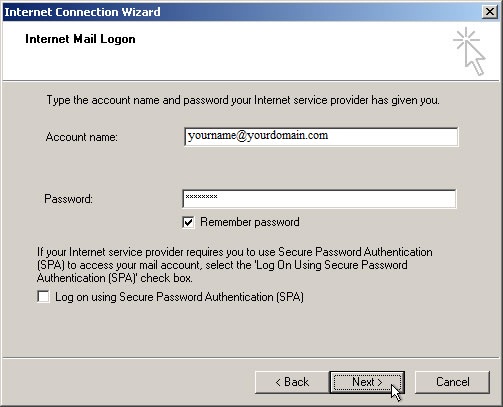
Enter your "Internet Mail Logon." Your Account name is your email address, and the password is the one that you specifyed when you registered this email account. Leave the "SPA" checkbox blank. Click "Next >."

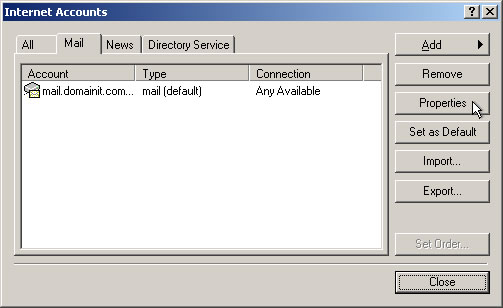
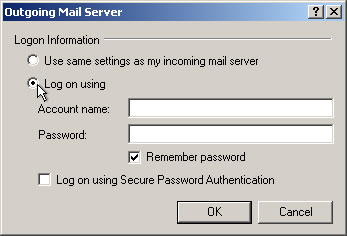
If your ISP requires you to use authentication for it's outgoing server, you need to enter that information provided to you by your ISP. To do so, go to the "Tools" menu and click on "Accounts." Select your email account and click on the "Properties" button.
Next, click on the "Servers" tab in the Properties dialog. Check the checkbox "My server requires authentication." Then click on the "Settings..." button to the right of that checkbox."
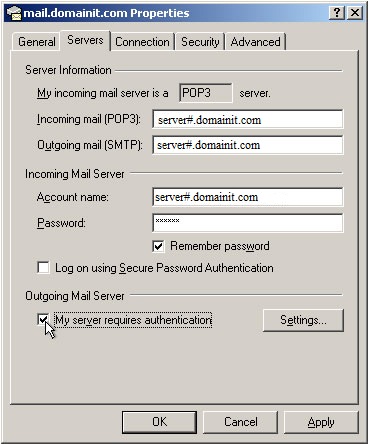
Click on the "Log on using" button and enter the information provided to you by your ISP. Click "OK."

You're all done! To begin sending and receiving email, click on the "Send/Recv" icon in the toolbar.


 QUESTION: