FAQ
Here is the question and answer you selected:
 QUESTION:
How do I use Thunderbird to send and receive my email?
ANSWER:
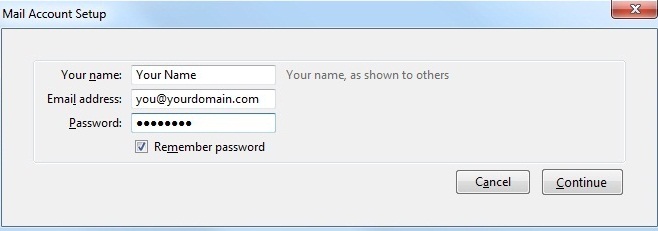
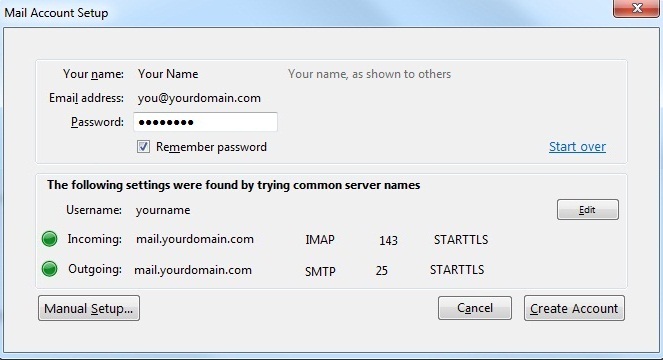
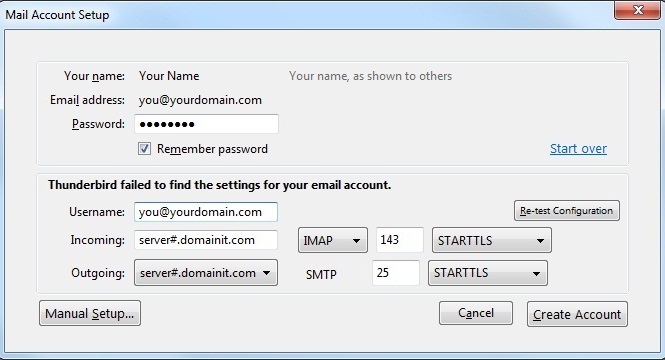
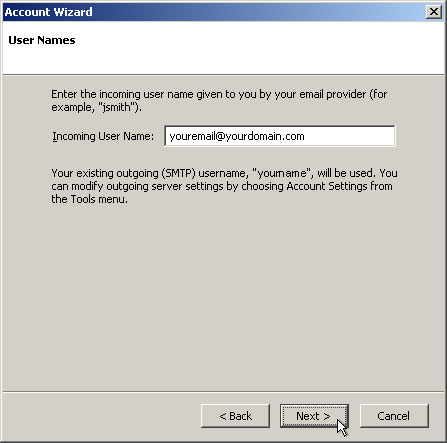
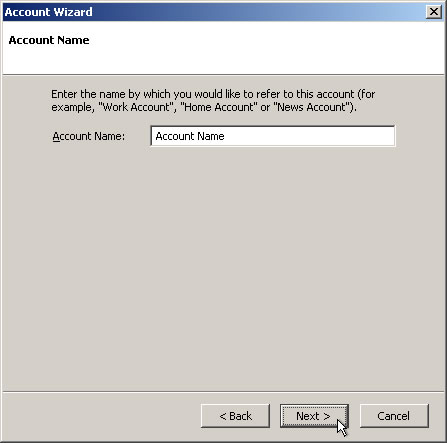
Once you have chosen Thunderbird as your email program, you can use the following step by step guide to help you configure it with the proper settings.
RELATED LINKS:
|
||||
DomainsRegister a DomainRenew a Domain Transfer a Domain Whois Privacy Bulk Search Whois Search |
ServicesWeb HostingSSL Certificates Web Marketing Website Tools |
CompanyAbout UsContact Us Support Testimonials Affiliate Program Coupon Savings |
Questions?For questions, comments or assistance visit our help desk at any time.Your Satisfaction is Our #1 Priority. |
Follow us:


|
 |
© Copyright 1996-2026 DomainIT. All rights reserved. Service Agreements